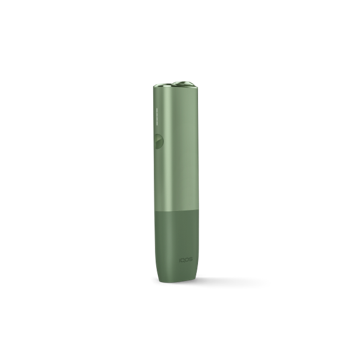
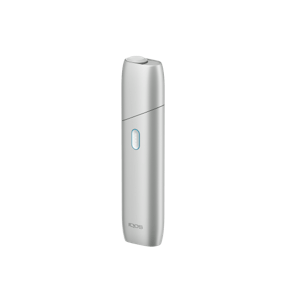
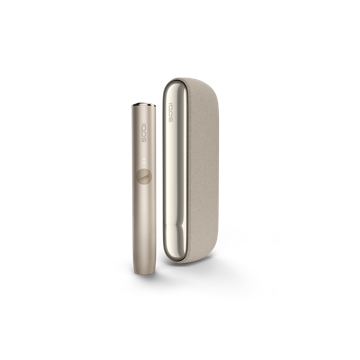
Your first steps with IQOS ORIGINALS ONE
Learn everything about your start with IQOS ORIGINALS ONE:

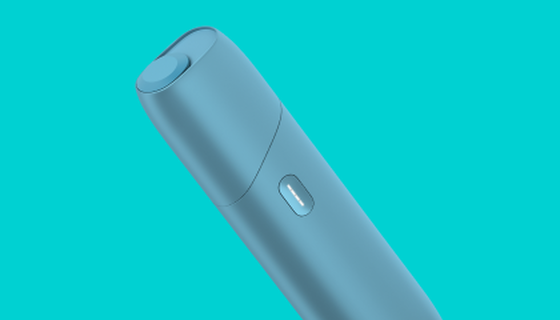
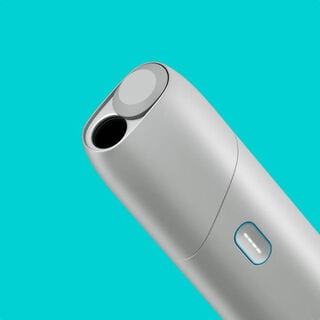
Get to know your IQOS Originals ONE
Follow the below steps to learn the key features on your IQOS ORIGINALS ONE
1. Press the button of IQOS ORIGINALS ONE for 4 seconds to turn the device ON or OFF.
2. Press and release the button briefly to view the charge status while it is not in use.
4 white strip lights: More than 75% charged.
3 white strip lights: 50% - 75% charged
2 white strip lights: 25% - 50% charged
1 white strip light: Less than 25% charged
Yellow light: Your device is discharged, charge your device
3. Plug your device into a power outlet with the provided original IQOS ORIGINALS ONE power adaptor and cable. While your device is being charged, the lights will be pulsing.
4. Ensure your device is fully charged to have up to 20 experiences.
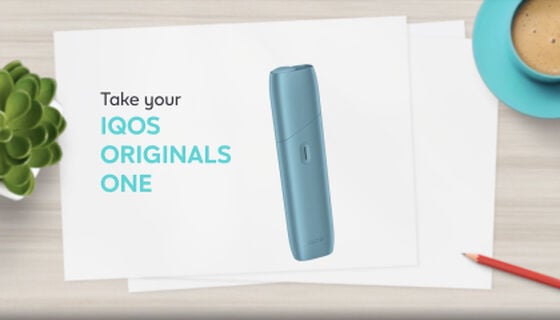
How to use your IQOS ORIGINALS ONE
Start your first experience with your IQOS ORIGINALS ONE
1. Slide the lid and insert a HEETS tobacco stick gently. Insert the tobacco end first and stop at the silver line of the tobacco stick. Refrain from pulling the cap and twisting the HEETS stick.
2. Press the button on your device until it vibrates. Lights will start pulsing to prepare the experience. Wait until you feel two vibrations and the lights become stationary.
3. You are ready to go! Remember that;
One experience will be up to 14 puffs or 6 minutes, whichever comes first.
While your device is in use, the lights will also show how much of your current experience is remaining.
When 2 more puffs or 30 seconds are remaining, the device will vibrate, and the lights will start to pulse.
4. Once finished, pull up the cap and remove the tobacco stick. Remember always to pull up the cap first.
5. Once tobacco stick is removed, slide down the cap back.
6. Watch the tutorial to learn more on how to use your IQOS ORIGINALS ONE.
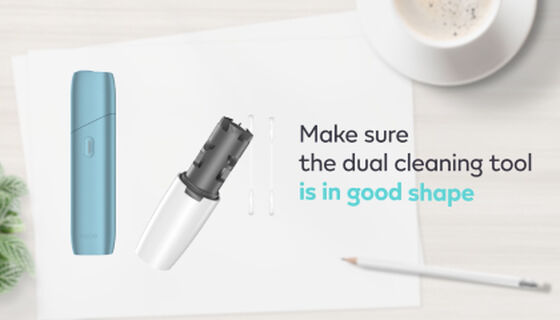
How to clean your IQOS ORIGINALS ONE
Clean your IQOS ORIGINALS ONE for the best possible tobacco experience
1. Ensure to let your IQOS ORIGINALS ONE fully cool down before you start cleaning (at least 30 seconds after the last use)
2. Slide the cap off and tap out any loose tobacco.
3. Open the rotating head of the cleaning tool and insert without twisting. Gently rotate three times. Remove without twisting. Gently tap your device again for any remaining residue
4. Open the sweeping head of the cleaning tool and align the position to the device and the heating blade. Insert smoothly without twisting. Move sideways from left to right to remove the residue around the blade. Gently tap your device again for any remaining residue.
5. Use cleaning sticks to clean inside the device without touching the heating blade. Clean also the inside of the cap from the bottom and the top.
6. Refrain from applying too much pressure and touching the heating blade.
7. Clean after each pack of HEETS tobacco sticks.
8. Watch the tutorial to learn more on how to clean your IQOS ORIGINALS ONE.
IQOS ORIGINALS ONE usage tips
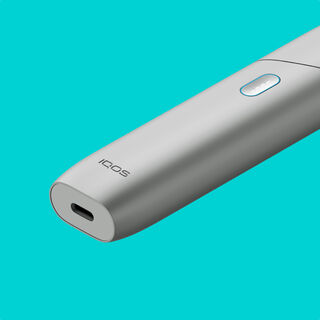
Use the official power adaptor and cable
Always use the original IQOS ORIGINALS ONE power adaptor and cable with a wall outlet to charge your device. This will help your device to be charged faster.
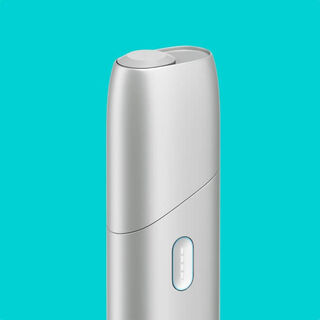
Change the cap regularly
Change the cap of IQOS ORIGINALS ONE every 6 months with a new one. This will help you to maintain the optimal experience that you like.
Avoid twisting the HEETS sticks
Make sure you don't twist the HEETS tobacco stick while inserting it into your IQOS ORIGINALS ONE, since this twisting motion can damage the heating blade.
That's not all. There's more useful information in our IQOS ORIGINALS ONE User Guide.
Our IQOS ORIGINALS ONE User Guide will let you delve deep into how your device works and how to use it.
Something we haven’t covered?

Call our infoline
Call our Infoline for more timely and specific answers
to your questions. We look forward to helping you!
Daily
9:00-19:00

Connect on Facebook
Feel free to message with any questions and get them answered .
Daily from 09:00 to 19:00.

No question is too small
Your question might have already been asked before. Browse our FAQs to see if there’s an answer waiting for you.
